
For some homeowners, they want to DIY their Loveland hardwood floor installation. At Mountain Valley Floors we understand the sentiment. In fact, we encourage it, if you know what you’re doing. You can read our recent post Why You Should Leave Hardwood Floor Installation to Professionals to learn more.
In this article, however, we are going to share five hardwood floor installation mistakes you will want to avoid to get the best installation outcome possible.
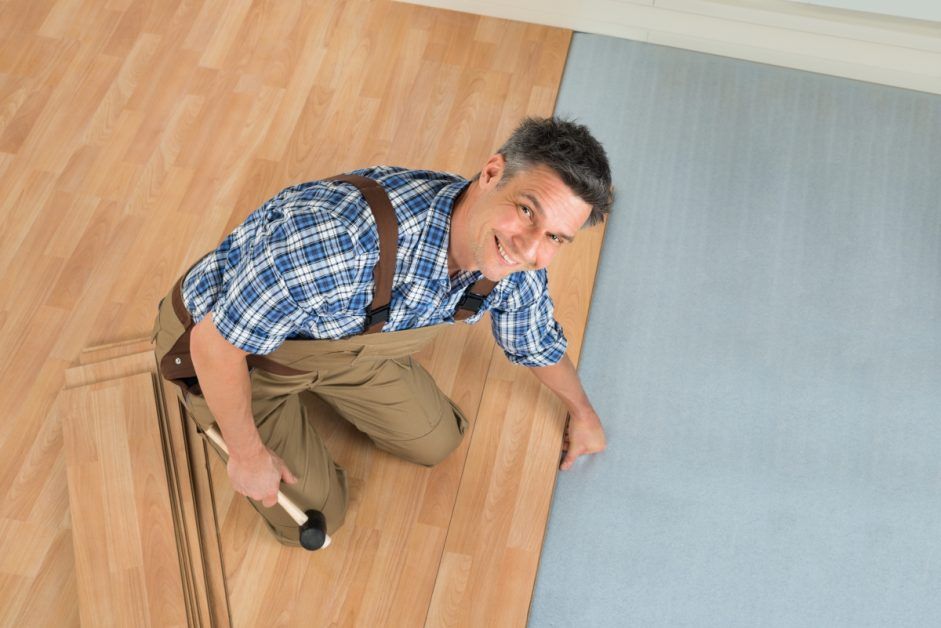
Avoid These 5 Floor Installation Mistakes
It can be tough to handle an entire Loveland hardwood floor installation project. You need to manage the cost, order the materials, install the product, and then maintain the floor all on your own. It’s not enough to hope that the project goes well. You need to know what you’re doing. So, in an effort to help the DIY floor installers, including you, we want to share some mistakes we see DIY project make consistently.
#1. Prepare the Floor Incorrectly
You may be “ready” to install your floor, but have you prepared the floor to receive your product yet? The excitement of having a new floor may have you in a rush; however, you need to slow down and prepare the floor prior to installing your hardwood. If you don’t, you will either have a hard time removing what you’ve already installed, or you will have to replace your floor before it’s even finished. You want to make sure your subfloor is clear of debris, dust, and dirt. Check for any protruding nails or staples and hammer them down. Once you make sure the floor is clean, you can start your floor installation.
#2. Start Flooring on the Incorrect Side of the Room
Do you know where you’re supposed to start your new Loveland hardwood floor installation? Consider which part of your floor gets the most sight from you, your family, and guests. This is the side of the room you want to start our flooring, ending it in a place that’s not easily seen or will be covered by furniture. You can start your floor installation on any wall, but you don’t want a slight skew to your product to be visible in the middle of the room.
#3. Cutting Floor Product Incorrectly
If you’re the type to “measure once and cut twice,” it’s time you reconsidered how you utilize your carpentry skills. Instead, you want to mimic the carpenter platitude of “measuring twice and cutting once.” This will save you from mistakes and make your floor look much better in the end. When you cut twice (or thrice), you’re essentially throwing money away and creating more opportunity for mistakes.
#4. Stagger The Joints Improperly
If you stagger our joints improperly, you may end up with the dreaded H-joint. This joint is known to cause flooring issues later in your floors life. What you want to do is stagger your joints so that they don’t match (or as unmatched as possible). This will extend the lifespan of your floor and save you money on floor replacements later.
#5. Leaving Zero Edge-Space Between the Floor and Wall
Pushing your hardwood flooring right up to the wall is not recommended. Like other materials, wood expands and contracts due to temperature changes. This can leave you with split or damaged wood.
Mountain Valley Floors is here to assist you with your Loveland hardwood floor installation and products. Call us today!